DIY Home Theater Soundproofing
There’s nothing better than watching Apocalypse Now chopper scene with Wagner’s Ride of Valkyrie set to full blast! If you have a home theater at your disposal you can watch this iconic scene and so many others with high quality sound all the time.
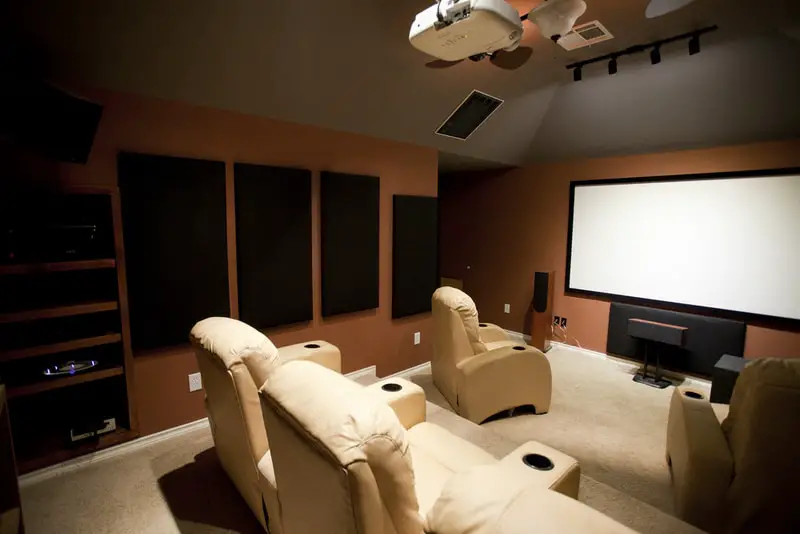
That is of course, if the theater is properly soundproofed. If the theater’s walls are thin, and the door is hollow, not only will you disturb other people with the noise, but the quality of sound will be ruined by noises coming from outside.
How to soundproof a home theater
I’ll share with you a couple of essential tips for soundproofing a home theater. These tips involve installing simple and affordable soundproofing materials in the key areas of the home theater. They will reduce the echo and therefore improve the acoustics inside, and they’ll act as a noise-blocking barrier.
1. Make the walls thicker
If you’re going to soundproof anything, you need more MASS, because mass blocks sound.
Use one of these methods to add more mass to the walls:
Install an additional layer of drywall
Use either regular drywall or soundproof drywall material and install it on the wall. The soundproof drywall is more expensive but it also provides better sound insulation.
Install MLV or mineral wool batts inside the wall
Mass Loaded Vinyl can be screwed directly on the joists. It’s a thick impact and airborne noise barrier.
Mineral wool batts on the other hand are placed between the joists (studs), like in this video tutorial. Both materials work great and are often used in construction.
The downside of both methods is that you’ll have to open up the wall to get to the studs in order to use them. Although, you could technically speaking install them directly on the wall using a spray adhesive or screws, but it wouldn’t look very nice.
Also, when working with mineral wool make sure that you’re wearing gloves, a mask and glasses because the small particles from it can be irritating.
So it you plan on placing these mineral wool batts or panels on the wall make sure that they’re properly sealed in a dense fabric that can contain really small particles.
Cover the home theater walls with moving blankets
Thick moving blankets are affordable and easy to install on any surface. Simply tack/screw/nail them to the wall and you’re good to go. They won’t block sound as well as the previous two options, but if they’re thick enough they’ll do a good job at muffling it.
The other benefit is the reduced echo in the room and improved acoustics as a direct result. So even if you decide to use one of the previous two methods, you’ll still want to cover the walls with either acoustic foam panels or moving blankets to reduce the echo in the theater.
The more of the wall you cover, the better echo reduction you’ll get. You’ll get decent echo reduction even if you don’t cover the entire walls with the material. But for soundproofing purposes you really should cover the whole wall to get good results regardless of the material you’re using.
2. Add mass to the ceiling
All of the previously mentioned techniques can also be used to soundproof the ceiling. There isn’t much difference between a ceiling and a regular wall as far as soundproofing is concerned.
The only real difference is that it can be a bit more difficult to install the materials up there because you have to climb on a chair or a ladder to do it.
3. Soundproof the floor
Whether you should soundproof the home theater floor largely depends on its location.
Is there a lively downstairs area beneath the home theater? If there isn’t, then soundproofing the floor is unnecessary. The only thing I would advise in that case is to place soft and thick material on the floor to further reduce the echo and improve acoustics. Thick rugs, carpeting and rubber floor mats are all great options.
But if you DO have a lively downstairs area, then you’ll probably want to add more mass to the floor in order to insulate it further. This may involve some reconstruction work. Basically, you’ll want to install a floor underlay (also known as subfloor).
This is an additional floor surface placed under the current one. Or you can keep the current surface intact and install an additional layer on top of it.
For hardwood floors, the typical floor underlay material that is used are either MDF panels or plywood. These provide solid sound and thermal insulation and are quite affordable. They can be purchased in Home Depot and similar stores, often custom-sized for the required dimensions.
So if you’re interested in these more advanced techniques, check out this floor soundproofing guide which explains a few other useful tips that you can use.
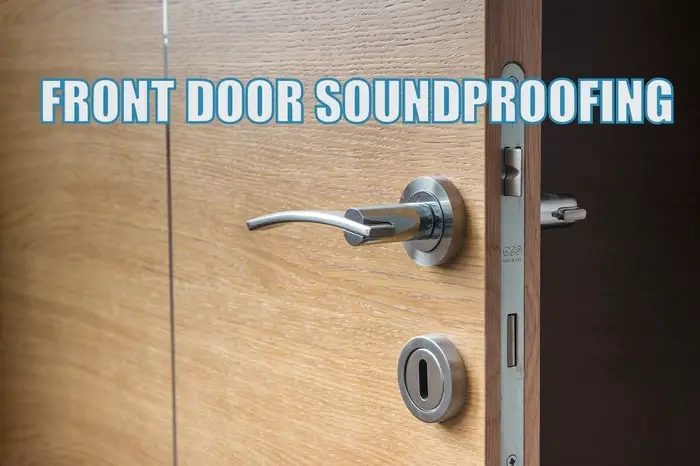
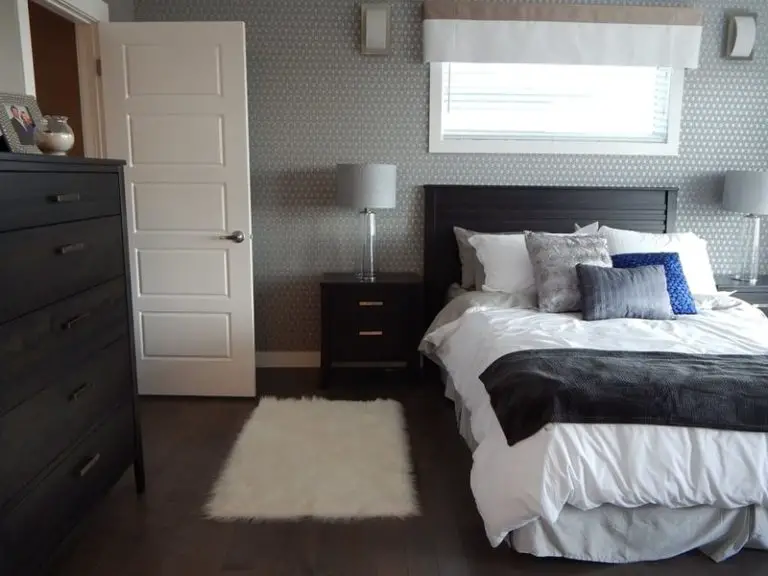
4. Reinforce the door
Often the weakest link in terms of sound insulation is the door. Why? Because doors are almost always thinner then walls. And often the interior doors in a home are hollow wooden doors, which not only let sound pass through, but they also resonate from any vibrations.
So bass noise can definitely be amplified by a weak door and cause more noise than necessary. To make your door better at blocking noise you can use some of these methods:
Cover all the gaps
Before adding any mass to the door, you should look for gaps around the door panel. You’ll typically find a few millimeter gap between the door and the door frame when it’s closed.
You’ll also find a gap under the door if there is no door sweep attached to it. To seal the door frame gap, simply cover the frame with weatherstripping tape where it’s supposed to meet the door. Then try closing the door. If there’s a seal you’re done. If not, use one more layer of tape until there’s a seal.
For the gap under the door, attach a simple silicone door sweep to the door.
Tack a moving blanket on the door
Same as with walls, you can tack a moving blanket on a door for noise and echo reduction.
Cover the door with acoustic panels
Use a spray adhesive or hanging strips to cover the door with acoustic panels. Fiberglass panels are better for soundproofing against vibration noise than foam panels. But they’re also more expensive. Check out my acoustic panel recommendations for more information.
Cover the door with MLV
Mass Loaded Vinyl is a powerful noise blocking agent and very convenient to use. Simple cover the door with MLV by screwing/nailing/gluing it to the door.
Hang noise-blocking curtains in front of the door
Install a curtain rod on the wall above the door or on the ceiling and hang long noise-blocking curtains to cover the door when you need additional noise and echo reduction. This is a really affordable and convenient option.
Replace the door
An alternative to these methods is to buy a thick solid-core door or a front door. These usually cost around $300-500 so it’s definitely more expensive than either of these methods.
The other problem with changing a door is that you may also need to use some additional soundproofing to get great results, especially for reducing echo. So overall, these soundproofing methods are a better way to go about it.
5. Soundproof the window!
I assume your home theater doesn’t have any windows. But if it does, you can make them more noise-resistant by either:
- Covering gaps in the window frame with weatherstripping tape
- hanging noise-blocking curtains or moving blankets in front of them
- installing an additional acrylic window pane
- making a window plug by using acoustic foam, a wooden panel and a handle
- removing the window and drywalling the gap altogether
Whether you should do any of this depends largely on the location of the window and whether the noise is bothersome or not. For more information on these methods check out this window soundproofing guide.
Extra tip for reducing echo:
Placing more soft furniture or soft material in general inside the room will reduce echo. This can be sofas, bookshelves or some plush toys. It really doesn’t matter. But the emptier the room is the more echo there will be so filling it up with stuff will reduce it.
This can unfortunately ruin the aesthetics of the room and it can be impractical depending on the furniture layout and size of the theater room.
This is why acoustic foam panels are such a popular option in music studios and home theaters.
2 useful tips for buying soundproofing material
Make sure to order enough material for your project. Starting a project and realizing that you don’t have enough to work with is not my idea of a good time.
So before you order the material, have an approximate or full estimate of the dimensions of the room or any object like door or window you want to soundproof. Rough estimates more-times-than-not turn out to be correct in my experience.
Also, take into consideration the noise levels you’re dealing with. If it’s within a normal decibel range, simple items like moving blankets and acoustic panels are often enough to make a significant improvement. But if you life next to a busy street or a train station (God forbid), you’ll probably need to do some reconstruction on the walls to place mineral wool batts or MLV inside to bolster the defences.
The general takeaway is this: buy a bit more material to be on the safe side, and consider the volume and impact of the noise you’re dealing with when choosing the type of material.
Final Thoughts
Most of the tips shared in this article are simple to implement and all can be done in a few hours or less. The results on the other hand, will last you a lifetime. There’s no reason to suffer from the noise inside or outside of your home theater. So I hope this helps and good luck!