How to Soundproof a Drum Room in 5 Simple Steps
I’m sitting here in my room and remembering the awful drum noise I made during my teen years. My dad bought me my first drum set, but he lived to regret that decision. When he wanted to relax in the afternoon, I’d practice for hours on end, trying to reach Cozy Powell levels of coolness. I wish I knew what I know now; that soundproofing a drum room is entirely possible and not all that expensive either. It could have saved both of us a lot of headaches! So the question is, how do you soundproof a drum room?
To soundproof a drum room you need to use soundproofing materials designed for impact noise. Drums produce low-frequency sound that can pass through walls, doors and windows easily, and it gets amplified upon impact. Some products that work great for soundproofing a drum room are Mass Loaded Vinyl, mineral wool boards, fiberglass boards and green glue.
That’s the short answer. Now let’s me explain the step-by-step process that you can use to do it properly.
1. Seal off any leaks
What I mean by leaks are things like:
- gaps between the door and the door frame
- gap between the door and the floor
- gaps between the window and the window frame
- any cracks in doors, windows and walls
It’s crucial that these gaps are sealed, because sound can pass through them completely.
Seal the gaps between door and door frame
For sealing off the gaps between the door and the door frame, I recommend buying the Soundproof Weatherstripping Door Kit from Amazon. This is the most affordable option. It contains both weatherstrip tape and a door sweep.
Here’s how you use them. First close the door. Now you will notice that that the door and the door frame don’t touch at some points. There is some empty space left. On those parts of the door frame, add some of this self-adhesive tape. Try closing the door again, and repeat the process until there are no more gaps left. It’s pretty simple.
Once you’ve done that, it’s time to attach the door sweep at the bottom of the door. That’s all you have to do, just attach it. The one in this kit is 2” x 43.3”. You might find that it’s too large for your door. If that’s the case, cut it with a sharp knife to size.
Seal the gaps between window and window frame
You can use the same weatherstripping tape and strategy to seal of any gaps in the windows as well.
Also, once you’re finished sealing the gaps in the drum room, you will have plenty of tape left. It’s 39 feet long after all. So I recommend using it on other doors and windows as well. It really does make a difference. It can be used both on interior doors and outside doors.
2. Soundproof the doors and windows
Now that you’ve taken care of the gaps, it’s time to add soundproofing material to the doors and windows.
The door
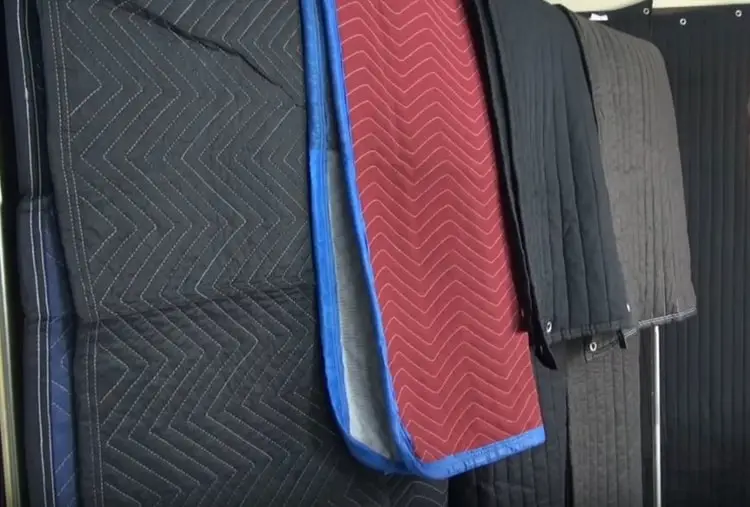
Hanging a fiberglass blanket in front of the door (from the inside of the drum room) is the most convenient solution. Fiberglass is a material specifically used for blocking impact noise and it drastically reduces sound reverberation.
There are two reasons why this blanket is the best option. First, it’s really practical. You can hang it with simple hooks and anchors from the wall above the door. This way you can remove it any time you want and use it somewhere else when needs be.
The second reason is cleanliness. I don’t like gluing panels on my walls and doors. It’s more difficult to remove them later on. With the blanket there are no adhesives necessary to get the job done.
Still, if you prefer applying soundproof material directly on the door, I would go with flat fiberglass panels. They are more expensive than regular acoustic panels, but they’re worth it.
You don’t want to get random acoustic panels, because they only work for airborne noise. For drums, you need fiberglass. And even though these are more expensive, you only need the one pack to cover one standard door, so it’s even cheaper than the fiberglass blanket. Still, I recommend you measure your door to know exactly how many you need to order.
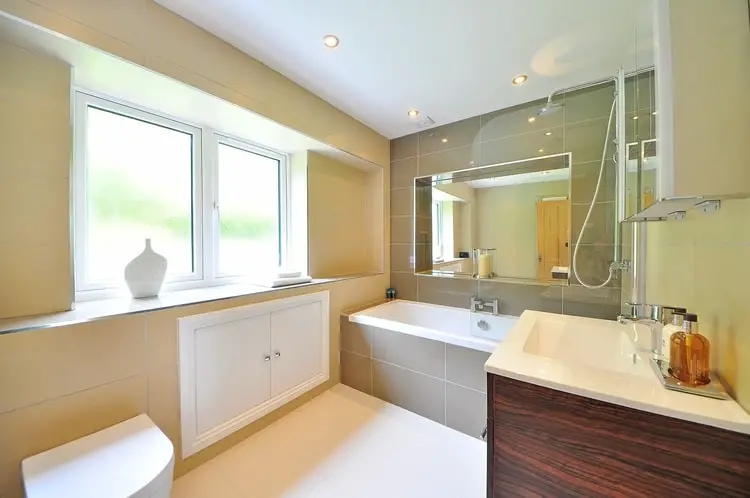
The window
I’ve addressed window soundproofing in this comprehensive article. But out of those 5 methods I’d recommend getting some thick, noise blocking curtains. It’s the easiest option and it will make a difference.
The important aspect is their size and thickness. You want them to be wide and long so that they can cover the window and some space around it. I recommend getting large noise-blocking curtains that run from the ceiling all the way down to the floor.
Now that we’ve soundproofed the drum room’s door(s) and window(s), it’s time to for a more serious project; wall soundproofing.
3. Soundproof the drum room walls
Guys, I could just recommend you to buy some cheap acoustic foam panels or glue egg cartons to your walls. But I would not be doing you a favor by doing so.
As I mentioned previously, drums, and drum bass in particular creates a lot of IMPACT NOISE. Please understand that; you can’t use the same type of material for blocking airborne noise (e.g. people talking loudly) and for impact noise (e.g. drum playing or playing basketball in the room upstairs) and expect the same efficiency. The vibrations from the drum bass will pierce through these cheap materials like a knife through an apple pie.
There is a whole 400+ page book about the difference between the two. Crazy, I know! You can read it for free by clicking here. But I’ve given you the summary in the previous paragraph, so we can now move forward to practical solutions.
There are 2 ways to soundproof drum room walls:
- Install soundproofing material on the wall
- Install it INSIDE the wall
The first option is obviously easier to do, because you don’t have to remove drywall or anything like that. You simply use an adhesive and place panels on the outside of the wall.
The second option involves removing the drywall and getting to the wall joists. Then you insert the material between the joists if you’re using mineral wool boards. Or you can place Mass Loaded Vinyl on the wall joists.
Which option is better?
The second option involves a bit more work, but it’s also more effective and more affordable. I recommend doing it because it’s a permanent upgrade to the room.
Plus you won’t even see the material in the room since it will be inside the walls so it won’t take away any size and it will look prettier. The Mass Loaded Vinyl is installed on the joists, so it does take a little bit of space out of the room. But it’s only 1/8 inch thick so it’s not a big deal.
How to install Mass Loaded Vinyl
Visual demonstration is worth a million words, so here’s a video:
https://www.youtube.com/watch?v=wOWwY4QMsM8
The products you will need to do this are:
- Mass Loaded Vinyl
- Acoustical Sound Sealant
- Tape
Mass Loaded Vinyl can be applied to all walls, including the ceiling.
But make sure to get another person to help you out. Installing MLV requires at least two people to easily maneuver the material around, hold it while the other person is using a tool etc.
How to install Mineral Wool Boards
Mineral wool boards are an alternative to MLV, and they work pretty good. The installation is a bit different though; the mineral wool boards are placed BETWEEN the joists.
These are even easier to install than MLV because you don’t have to use any nails or screws to install it. Just carefully place the boards between the wall joists and you’re done with it.
After you’ve done that, it’s advisable to install resilient channels on the joists to further reduce impact noise. Here’s a video demonstration on how to install mineral wool boards in a standard wall:
And here’s how you install mineral wool boards on the ceiling:
These are the products you’ll need if you opt for this option:
- Roxul mineral wool boards
- Resilient channels
That’s all you need to make your walls destroy sound waves before they can escape the drum room.
Soundproofing drum room walls without any reconstruction
Okay, now you know the 2 best ways to soundproof your drum room’s walls and ceiling.
But what if you just want to add some soundproofing on the walls and be done with it?
In that case, I recommend filling up the walls with fiberglass panels. You can either get ones that are ready-for-install, like the flat fiberglass panels that I also recommended for the door.
Or you can get these fiberglass boards that don’t have a cover. They are more affordable and you can cover them with a fabric of your choosing. So they allow for more freedom when it comes to design and color, but there’s also some work involved in finding or creating covers.
Make sure to measure the walls to determine how many panels you’ll need. You should cover all the walls that you don’t want the sound to pass through.
Install acoustic panels without damaging the walls (3 simple steps)
There are 2 ways to mount acoustic panels on a wall. The first one is spraying an adhesive directly on the back of the panels and then sticking them on the wall. This is what most people do, but it definitely causes damage to to the walls.
Here is a better way that you can use that won’t ruin your walls:
1. Once you’ve picked the panels, mark the walls with painters tape to determine where the panels will go. By doing so you won’t have to think about whether they’ll fit in or not, which can save you some time. (optional)
2. Next, I recommend mounting the panels in groups of four. To do so, spray the back of the panels with a spray adhesive like Loctite. Then affix the panels on cardboard. This will make them look much better once you mount them on the wall. (optional)
3. So once the panels are firmly affixed to the cardboard, use hanging strips on the cardboard to mount them on the wall. Or you can use the hanging strips directly on the back of each panel to hang them on the wall. This will require a few more strips for the panels to stick, because the strips work better on cardboard. But it will still work.
By using hanging strips you will preserve your walls, and it makes the removal of panels later on much easier. You can move the panels around and adjust them around if needs be. Plus, you can use this method on the ceiling as well.
4. AN ALTERNATIVE: Acrylic Drum Shields
I’d feel like a major douche if I didn’t share this simple solution with you. Drum booths are usually really expensive. And I mean around $1200 for the cheapest one. It’s less expensive to soundproof the entire room than to buy a drum booth for that price.
One negative thing about the drum shield is that it will do nothing for the noise going upwards. So you’ll still need to use some panels, MLV or mineral wool boards to soundproof the ceiling if you have an upstairs area where the noise bothers you. If not, these drum shields are arguably the quickest way cut down on drum noise.
5. Place a drum rug under the drum set
Once you’ve chosen your methods for the walls, ceiling, doors and windows, only the floor is left. If you don’t have carpeting on the floor, I recommend getting it because it will soak up a lot of the noise coming the drums.
Also, drums can damage the floor if any spurs and points are directly in contact with it. Placing a drum rug under the drum set helps with both noise reduction and as a prevention against floor damage.
If you want more floor soundproofing ideas, check out my detailed guide by clicking here.
Summary
I’ve shared all the info you need to make your drum room completely silent for any passerby.
You have many options to choose from depending on your individual situation and how much money and time you have on your hands to make the awful drum noise a thing of the past.
If I had this problem right now, I’d do this:
First I’d try the drum shields in addition to sealing any gaps in the door and window with weatherstrips and a door sweep.
If I were not to use the drum shields, I would soundproof the doors and windows with the weatherstrip, door sweep and the fiberglass blanket on the door and the noise-blocking curtains on the window.
Then I would add Mass Loaded Vinyl to the walls. If I didn’t have any carpeting on the room, I’d get a drum rug or get some thick carpet pads for the room.
Those are the two ways I would personally tackle the drum noise.
Having said that, I hope you found this information helpful, and I wish you good luck with your soundproofing project!