RV and Motorhome Soundproofing: Full 7-Step Guide
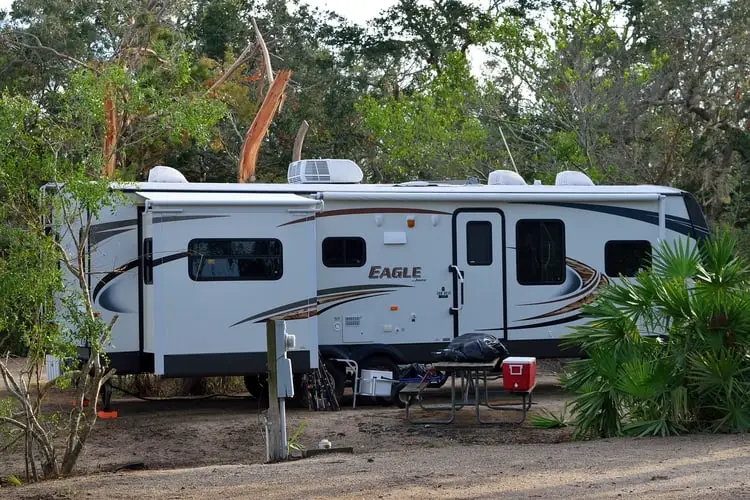
RV’s are a boatload (or should I say RVload) of fun. Going camping or living off grid in one of these metal cans can turn into an adventure of a lifetime.
But what does road or engine noise have to do with it? It never added to anyone’s enjoyment levels. In fact, it’s one of the downsides of driving an RV.
The engine compartment is often too loud, and the insulation of the entire structure not good enough to absorb airborne and impact noise.
So I’ve decided to help out RV owners with this article. Here are 7 steps (or 6, the last one is optional) you’ll need to accomplish in order to soundproof your RV affordably and without too much trouble.
RV Soundproofing Tips
1. Use automotive sound deadening mats
For this project, you’ll need sound deadening mats made from mass loaded vinyl and butyl. These mats are both thick and flexible. So they can absorb airborne and impact noise. The best and most popular mats at the moment are Dynamat, Noico and FatMat.
They’re all self adhesive and easy to cut to size with a knife, so installation is simple and straightforward. Along with sound insulation, they also provide thermal insulation and they’re fire retardant, thus improving the safety of the vehicle. Check out this article for my top sound deadening mats recommendations and more information.
When buying these mats, make sure that you have an approximate estimation of how big your RV is, or how big of an area you want to soundproof. There’s nothing more annoying then ordering too little of this material and having to order again and wait for it to arrive in order to finish the project.
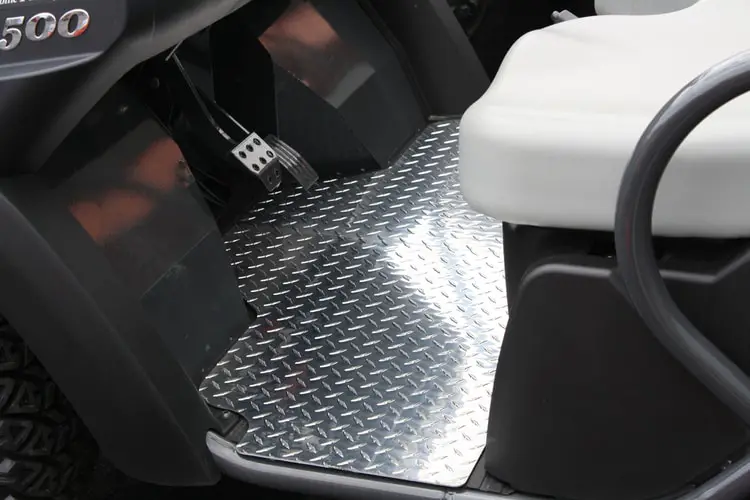
2. Insulate the floor
The floor area of any vehicle is the most troublesome. Mainly because it’s so close to the road. Furthermore, larger floor areas like those in RVs are like a large diaphragm, resonating more sound and vibrations from below than the floor in smaller vehicle cabins.
This is why it’s vital to cover the floor, at least in parts of the RV where you have the subjective impression that the noise is the worst. Once you’ve selected the sound deadening mat that you want to use and the product has arrived, simply remove the self adhesive mat from the protective foilage and press it on the floor.
You may need to apply a little pressure with your hand or a roller for the best results. One way to make any mat more flexible and easier to install on corners and uneven surfaces is to make it hotter. Using a hairdryer works well for doing that.
Once you’ve covered the floor with sound deadening mats, you can leave it like that or cover it with additional material. Closed cell foam mats are an awesome addition because they’re really thick and can soundproof the area maximally.
Dynamat has a package with DynaLiner which is a 1/2 inch or 1/4 inch mat that serves for exactly that purpose. But if you buy only a sound deadening mats, you can get an additional closed-cell foam mat from a different source.
This Noico Green closed-cell foam mat is the most affordable option that provides decent 1/6 inch thickness. But the best option that I’ve come across is this 1/4 inch thick Vibro mat. But it’s also more expensive.
You’ll get good results by using the standard mats alone, but if you want even better results, add a layer of closed-cell foam on top. Once you’re done with the floor, we can focus on the next important area – the doors!
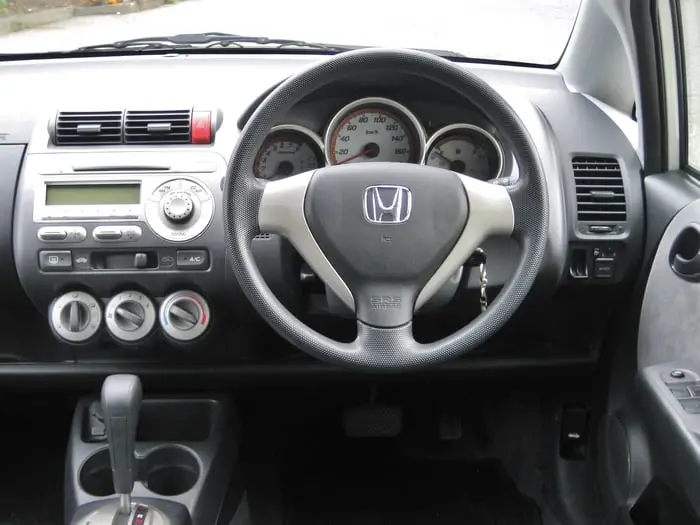
3. Insulate the doors
Sound deadening mats can be used to insulate the doors too. While you can place them directly on the door, I suggest opening the door panel and placing the material inside. Then screwing the door panel back to cover the insulation.
This might seem complicated at first but it’s really not. Unless you’re dealing with glued components, there’s always a logical way to remove them and put them back into place.
There can be screws or a logical opening system, depending on the vehicle, so I can’t give you the exact step-by-step tutorial. But this video is a good demonstration that is applicable for most regular vehicles:
Once you’ve insulated the door panel, focus on any gaps between the door and its frame. There is probably a rubber door seal located on the edges of the door, placed there to reduce draft, stop water, hot/cold air and noise from coming inside.
But if the seal is not thick enough, it’s worth replacing it with a thicker one that can provide better insulation. Especially if your RV is older and the gasket is cracked or loose on some parts. Here’s a great simple tutorial on how to use a thick door seal to your advantage:
Here is the insulating foam pipe that was used in the video. The other item you’ll need is a sealant to keep the foam pipe in place. The video maker used Lexcel weatherproofing caulk, and it worked fine. But as he also mentioned in the comment section of the video, an adhesive like Shoe Goo would probably be even better for making the foam stick, plus it’s cheaper.
4. Cover the RV’s windows
Covering the windows of an RV can be accomplished by using RV door window covers. These covers generally work on other windows as well, and there are 5 different dimensions to choose from.
These covers are mainly used for protecting against sunlight and for thermal insulation. They’re not thick enough to provide adequate sound insulation so I wouldn’t use them for that purpose alone.
My tactic is to combine them with a sound deadening mat. Simply cut the mat to size of the cover and install it on one side of the cover. Then you can hang the cover on the window using the hook and loop fasteners that come along with it, and you’ll get the best of both worlds! This is a more practical way of soundproofing windows than it would be to glue something on them permanently.
An alternative method is to hang noise-blocking curtains or moving blankets from a curtain rod/hooks with anchors. But this is more complicated and it would take more space so it would only be feasible for the living quarters in larger RVs.
5. Cover the ceiling
Whether you should soundproof the ceiling is optional after you’ve taken care of the floor and the doors. There will already be a significant reduction in road and engine noise at this point.
But covering the sealing with sound deadening mats is a great option for further thermal and sound insulation. Just like the floor, covering the ceiling is not rocket science. Simply adhere the mats of your choosing to the surface.
The one area where you’ll need a different solution is the RV vent. The ceiling vent can let in A LOT of cold or hot air and tons of noise, just like any gap.
An effective way cover the vent when you don’t need it is by using an RV vent insulator. This Camco RV Vent insulator has amazing reviews and seems to be a great fit for most RV vents. It made from 2.75″ foam. There’s also the option of getting one with or without a reflective surface for protecting against UV radiation.
6. Cover the RV engine compartment with sound deadening mats
It goes without saying that the engine is responsible for much of the noise in your RV. It’s certainly closer to your ears than the bird tweeting on some distant branch.
The easiest way to lower the engine noise is by thickening the thinnest part of the engine compartment. That is in almost every case the hood. So you can do that by covering the hood with sound deadening mats.
The before mentioned automotive materials are covered with aluminium foilage designed to tolerate high temperatures and to provide heat resistance, which makes the material safe for soundproofing the engine.
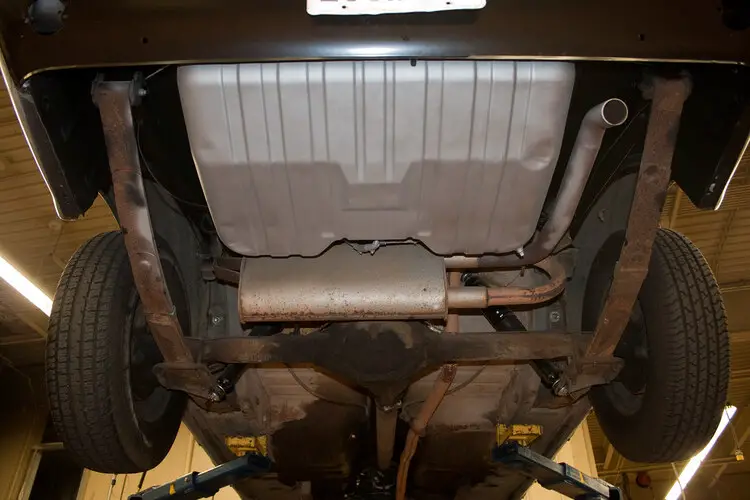
7. Soundproof the wheel wells (optional)
Another direct source of the noise are the tires, moving through rough road conditions. Wheel wells are the main barrier between the tire noise and your ears. This area also vibrates a lot, especially if you’re moving through weaker roads.
It’s really frustrating that this area is often pretty thin, so the metal parts resonate a lot more than they should and can cause quite a racket.
But soundproofing wheel arches is pretty complex, because you need to remove the wheels first before you can do it properly. So you’ll probably need to take your RV to a professional to get it done.
For this project I recommend covering the surface with more than one layer of sound deadening material. Or even better, covering the wheel arch with pure Mass Loaded Vinyl, which is pretty durable.
And you want something that won’t crack easily in that hard-to-reach area. Having said that, pure MLV is not self-adhesive, so you’ll need to use glue or a spray adhesive to get it to stick to the surface.
Having said that, this project involves a lot of work. If you’ve soundproofed the floor, doors and the engine compartment, this is not entirely necessary. Especially if you don’t drive your RV through rough terrain.
But if your goal is a perfectly soundproofed RV, insulating the wheel arches is definitely part of the equation.
Final Thoughts
RV’s can be incredibly noisy, and the problem comes from the fact that they’re larger than regular vehicles while not having improved insulation. This means that there are more large areas that can vibrate and reverberate the noise further.
By adding thick and soft material to the floor and other surfaces, you can block a significant part of the noise. Tap on the surface before and after applying the sound deadening mat. The noise will be far less noticeable once that additional barrier is installed.
The more of your RV you can cover in this way, the better results you’ll get. Hope this helps!