How to make a soundproof cardboard box in 5 easy steps
Soundproofing a cardboard box is a popular science project assigned to middle school and high school students. It’s also a skill that can be very useful in real life situations.
A soundproof box can be used to:
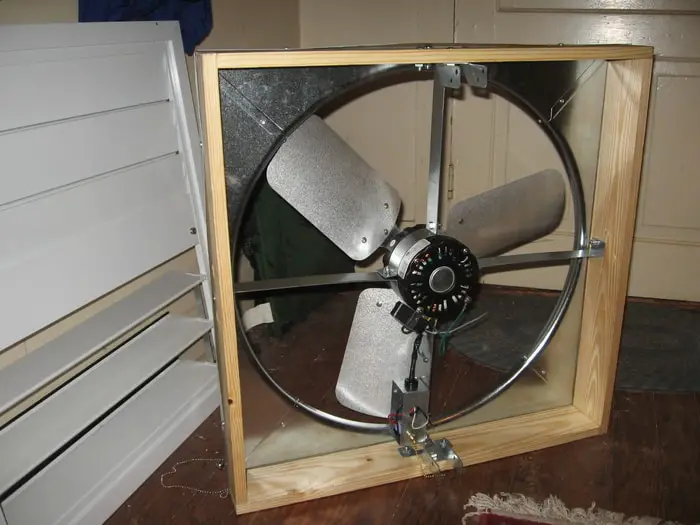
- insulate a noisy water pump or generator
- improve the sound of a microphone or speakers
- reduce blender or juicer noise
Usually, I recommend using plywood or MDF panels to make soundproof boxes because they’re thicker and insulate the noise better. But for smaller projects, cardboard can work if you insulate it with great soundproofing material.
This article is a step-by-step guide that you can use to make a top class soundproof box that your friends will admire, and enemies envy!
1. Pick the right materials and tools
There are dozens of different materials and tools you can use for this project. I’ll only suggest the ones that I’ve personally had success with.
To make a cardboard box soundproof you’ll need:
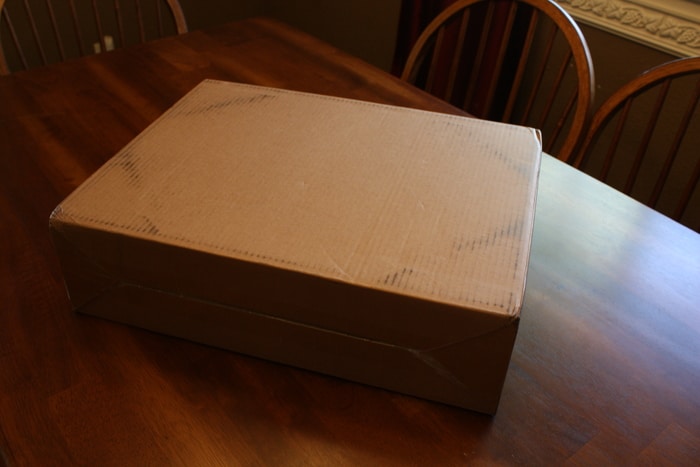
- a cardboard box
- soundproofing material
- glue or a spray adhesive (I prefer using a spray adhesive to completely adhere the soundproofing material to the surface)
- styrofoam sheets
- scissors
- tape measure or ruler
2. Make your own cardboard box
If don’t have a box already, you can make one at home. This is a good tutorial for making a small box from one cardboard sheet:
But I’ll assume that you plan on making a bigger box and with exact dimensions in mind. In that case, here’s a 9 minute, simple to follow tutorial:
You can get cardboard sheets from Amazon as well. So once that you have the cardboard box ready, let’s turn it into a really quiet place.
3. Glue a styrofoam sheet to each side of the box
Styrofoam will add some density to the box, and will also make sure that the soundproofing material adheres well to the surface.
You’ll need to cut the sheets into 10 or 12 pieces, depending on whether you want to leave one part of the box open or not. The pieces should be the exact size and proportions to the surface of the box.
Once you’ve done that, glue 1 sheet on each side of the box with superglue or a spray adhesive.
4. Glue the soundproofing material on the styrofoam sheets
Once you’ve covered the inside of the box with styrofoam, cut the soundproofing material to size.
If the material you’re using is self-adhesive (like the Noico sheets I suggested), then just stick them to the styrofoam. If you’re using some other material that isn’t self-adhesive, use the superglue or the spray adhesive on the styrofoam and then place the material on it.
5. Cover the soundproofing material with another layer of styrofoam (optional)
You can cover the soundproofing material with another layer of styrofoam. It will acts as a protective barrier for the soundproofing material, add more density to the box and reduce the echo in the box.
That’s why I recommended cutting 10-12 pieces of styrofoam. Now you can use the glue or spray adhesive on top of the soundproofing material and then stick the rest of the styrofoam on top.
FAQ:
1. Can I use egg cartons to soundproof a cardboard box?
Not really. The idea behind egg cartons being good for soundproofing is that the uneven shape of the boxes reduces sound reverberation (echo). This is true to some extent, but even this echo reduction is not impressive. This graphs shows the echo reduction gained by using egg cartons vs regular acoustic foam. Other than that, egg cartons cannot block noise at all. They’re just too thin to make any significant difference.
2. My box is too small to add any soundproofing material inside. Is there an alternative?
If your box is too small, install the material from the outside. It won’t look as pretty, but as far as soundproofing is concerned it will work the same.
3. Can I use acoustic foam instead of the material you recommended?
Sure. I mentioned that I’m recommending only the materials that I’ve personally used before. I like the Noico sound deadening mat because it insulates airborne and impact noise equally well. For example, regular acoustic foam will only reduce airborne noise, so any vibrations will not be dealt with. I also recommended this mat because it’s pretty affordable, can be purchased in small amounts, and is self-adhesive. But, a more expensive alternative that you can also use is Mass Loaded Vinyl. But I generally recommend it for projects that are much larger, like wall soundproofing.
Conclusion
That’s it! You’ve just soundproofed a cardboard box like a pro. Now you can place a microphone inside the box and get extra quality audio with the box blocking the surrounding noise. Or you can cover the blender while it’s creating the awful racket in the kitchen.
If you want to soundproof the box further, add more layers of styrofoam and soundproofing material. You can add them on the outside of the box as well. It won’t look as pretty, but it will do an equally good job as far as noise reduction is concerned.
Have any questions or suggestions? Leave them in the comment section below. It’s always appreciated! – Luka Baron