How to Soundproof a Wall Without Removing Drywall
Soundproofing a wall without removing drywall is pretty easy. Unlike removing drywall, some soundproofing materials can be installed directly on the wall. And they block noise pretty well! Here’s a 5 step process you can follow:
1. Identify the type of noise
This is very important. There are 2 types of noise:
Aiborne Noise – These are higher frequency sound waves that are transmitted only through air. Some examples are people talking loudly, loud TV or stereo (not the bass) and traffic noise.
Impact Noise – This noise is also known as “structure-borne noise”. It is produced by vibrations like those from a washing machine, fridge, generator or drum bass. These vibrations create low frequency sound waves which cannot be blocked by foam panels. For this noise you need to use flexible but tough material like Mass Loaded Vinyl and fiberglass or green glue.
2. Measure the wall
Before buying any material measure the walls that you want to soundproof. You don’t have to be super precise, but you should have an average estimate of how much material you’ll need to order.
On a side note, it’s better to buy a little more material than to have a shortage when you start working. If you want to soundproof a wall, it’s important to cover it entirely. Otherwise the noise will still pass through the uncovered parts.
So buy a little more, and if you have some leftover material, you can use it for a smaller project in your house. You can place the leftover material on the wall behind a noisy washing machine, fridge or make a soundproof generator box. I’ve covered many of these smaller, but useful projects in other articles on the site.
3. Order the right soundproofing material
Once you’ve made the measures and identified the type of noise, you can finally order the correct material for the job.
If you’re only trying to soundproof the wall against airborne noise, you can use:
- soundproof foam panels (regular acoustic panels)
- fiberglass panels (thin and flat, but heavier acoustic panels)
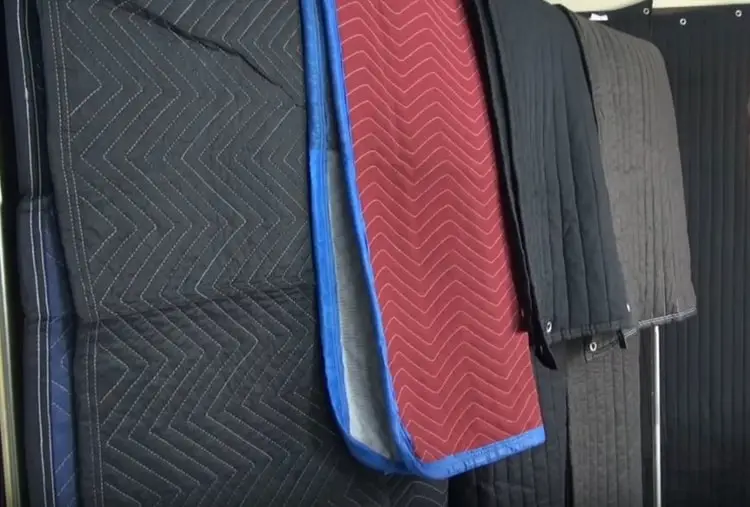
- Mass Loaded Vinyl (large, thin material, popular for wall and vehicle soundproofing)
Foam panels work well for reducing airborne noise and echo in the room. But if you’re trying to block impact noise, alone or together with airborne noise, then I suggest using fiberglass panels or Mass Loaded Vinyl.
Fiberglass panels look really nice and they’re pretty effective, but they’re more expensive. MLV is effective and fairly affordable, but doesn’t look very nice. So if you’re soundproofing a living room wall, I’d go with fiberglass panels, and if you’re soundproofing a garage wall or some other wall where you don’t care too much about appearance, use MLV instead.
On the flip side, you can cover MLV on the wall with wallpaper and/or place large furniture in front of it. That would be the best option in terms of cost and appearance. Additionally, MLV can be painted over with latex paint.
4. Install the material on the wall
So you’ve ordered the right amount of the right material. It arrived to your front door and you’re ready to install it on the wall. How do you do that exactly?
How to install acoustic panels
To install acoustic panels (foam panels or fiberglass panels), you can use two approaches. You can apply an adhesive like Loctite on the back of each panel and then stick it on the wall. Many people install panels this way. But I don’t really like this approach, because it messes up the wall. If you decide to remove the panels later, you’ll have to scrape of the adhesive from the wall and paint it again.
A much cleaner option is to use Command Strips. These strips are used to hang paintings, mirrors and similar objects on walls. You can use them to hang acoustic panels on any surface as well, including the ceiling. They hold pretty well. Place one strip on the top two corners of the acoustic panel, and one in the middle if you want to be extra sure, and then hang the panel on the wall.
There’s another really clean approach you can use. Get large pieces of cardboard, enough to cover the entire wall. Use Loctite or Command Strips behind 4 acoustic panels to stick them to the cardboard. Then cut the cardboard remains around the panels with scissors or a knife.
Now, place the command strips on the back of the cardboard (one on each top corner, and 1 in the middle). When all is set, hang the cardboard with the panels on the wall, with the cardboard facing the wall of course and the panels facing the room of course. This requires slightly more work, but it will look neater on the wall.
How to install Mass Loaded Vinyl
Installing Mass Loaded Vinyl on the wall is even easier in theory. But you need at least one more person to do it, because the material is large and pretty heavy. The material comes in a big wrap. So you can role it across the wall first. Then mark the length of the material you’ll need to cover the wall from one side to the other with a pen. Then cut the material to size.
Have you done that? Great. Now, while the other person is holding the material in place on the wall, use either a spray adhesive, or nails/screws in several places so that it remains firmly on the wall. Once you’ve installed the lower portion of the wall, keep going higher with another layer, until you’ve covered the entire wall. You’ll probably need a ladder or a chair to climb on to cover the highest portion of the wall.
Mass Loaded Vinyl can be tightly adhered to the wall, or you can leave it more relaxed (so that it looks a bit wavy). If it’s wavy, it will absorb impact noise more effectively. But it looks better when installed tightly so I leave that choice to you. In vehicles, it’s usually glued to the surface with an adhesive, so it’s pretty tight. So it should work great either way.
Check out this video to see how your wall should look like once you’ve covered it with MLV:
Notice one thing; this guy used Mute-X, which is a very light product that sucks for soundproofing walls, especially when placed directly like that. Mass Loaded Vinyl is far more effective, and you can even see people who used MLV in the comment section telling this guy the same thing.
They’re right! But at least he installed it neatly and that’s what your finished project should look like. Notice also that he installed it vertically, from the bottom up. You can do it like that or you can go horizontally when installing MLV. Installing horizontally is usually easier to do. That’s how these folks did it behind the drywall:
https://www.youtube.com/watch?v=wOWwY4QMsM8&t=40s
On a side note, you can add as many layers of Mass Loaded Vinyl to the wall as you want. One layer is often more than enough, but if you want to add more, you can always do that.
So that’s how you install acoustic panels and Mass Loaded Vinyl. There are some less effective methods available as well, but I’ll share them anyway:
Alternative Methods
Paint the wall with soundproofing paint
Soundproofing paint works okay for reducing echo in the room. It’s used in the same way as any regular paint. You get a brush and cover the entire wall. That’s it. The only difference is that this paint is thicker. But the problem is that it doesn’t reduce low or high frequency noise almost at all. It can block some mid-level frequencies like people talking normally, but I suppose you’re not looking for that anyway. However, the effectiveness can be increased to some degree by adding more layers of paint on top of the first layer. However, you can expect a speckled and raised surface to develop if you do that.
Overall, soundproofing paint is a cheap echo reducing solution that doesn’t take any space away from the room. But it can’t be used for any significant noise reduction.
Noise-blocking curtains
Noise-blocking curtains are made from thick, heavy fabric. They’re usually used to block traffic noise coming from windows, and some people also hang them in front of doors. You can hang these curtains in front of a wall as well to add more noise-blocking properties. Curtains are not as effective as acoustic panels or Mass Loaded Vinyl, but they can make a noticeable difference.
For these curtains to work, it’s important that they’re large enough to cover the entire wall, both in terms of length and width. So measure your wall first. I found some large and great looking one-panel curtains on Amazon. They have tons of positive customer reviews and 5 colors to choose from.
Install a curtain rod on top of the wall and then hang the curtain(s). If your wall is too high to be covered with these curtains, you can cover the rest of the wall with acoustic panels or MLV. Or don’t use this method at all. It’s just a suggestion! 🙂
What about deep bass noise?
All of these soundproofing materials, fiberglass panels and Mass Loaded Vinyl especially, will reduce the noise you’re struggling with to a large extent. Unless you’re dealing with deep bass. This sound belongs in the impact noise category, and it’s the hardest one to block.
It’s a really low frequency sound that can only be stopped by having really thick walls. So the best way to stop this type of noise is to install MLV, mineral wool boards or green glue inside the wall. Adding an additional layer of drywall can also help.
So applying soundproofing material on a relatively hollow wall from the outside will not stop deep bass noise. I wanted to mention this for the minority of people who have this problem. Most people are dealing with higher frequency sounds produced by various machinery and loud neighbors. For those sounds, the methods mentioned above work just fine.
Conclusion
I hope you’ve found this information helpful. From my personal experience and what I’ve learned looking at other soundproofing projects, I feel like Mass Loaded Vinyl is the best option for soundproofing a wall without removing drywall.
Foam panels are great if you don’t have a lot of noise problems. But for more serious noise it’s either MLV or fiberglass panels. My final recommendation for most readers is Mass Loaded Vinyl, which is affordable, effective for blocking almost all sound frequencies, and is pretty easy to install.